
Having recently become interested in anticlastic forms I was quite excited to come across a pair of synclastic pliers on ebay.
Synclastic is basically the opposite of anticlastic in that it is a shape that curves towards the same side in all directions or if you need a more simple explanation {I do!} think of a ring that has a domed profile - the convex shape of the dome and the curve of the ring both go in the same direction.
So I bought a pair of the synclastic pliers. They cost about £36.


You can see from the photos they are quite a hefty bit of metal.

They consist of a convex side and a domed side. The flat piece of metal sits in the convex curve and the handles are squeezed to press the the two sides together. The domed side pushes the metal down into the gap in the convex side resulting in the metal starting to take on that curve.

I decided I'd experiment with a soldered mini bangle to see what the pliers could do...

I started with a soldered strip that I rounded on a hoop mandrel.

Then I used the synclastic pliers to start forming the metal.

This is the curve after the first pass in the pliers. It's starting to curve.
This is after a second pass. It's getting a nice curve but the edges are still a bit flared.

Looking at the profile of the curve you can see it's uneven with bulges where the domed side of the pliers has pushed the metal. I annealed the copper again and passed the bangle through the pliers again, this time moving it a mm at a time to try and get a smoother shape.


It did end up a bit smoother but the edges were a little bit wavy but not that much that you'd notice {unless you're like me!}.
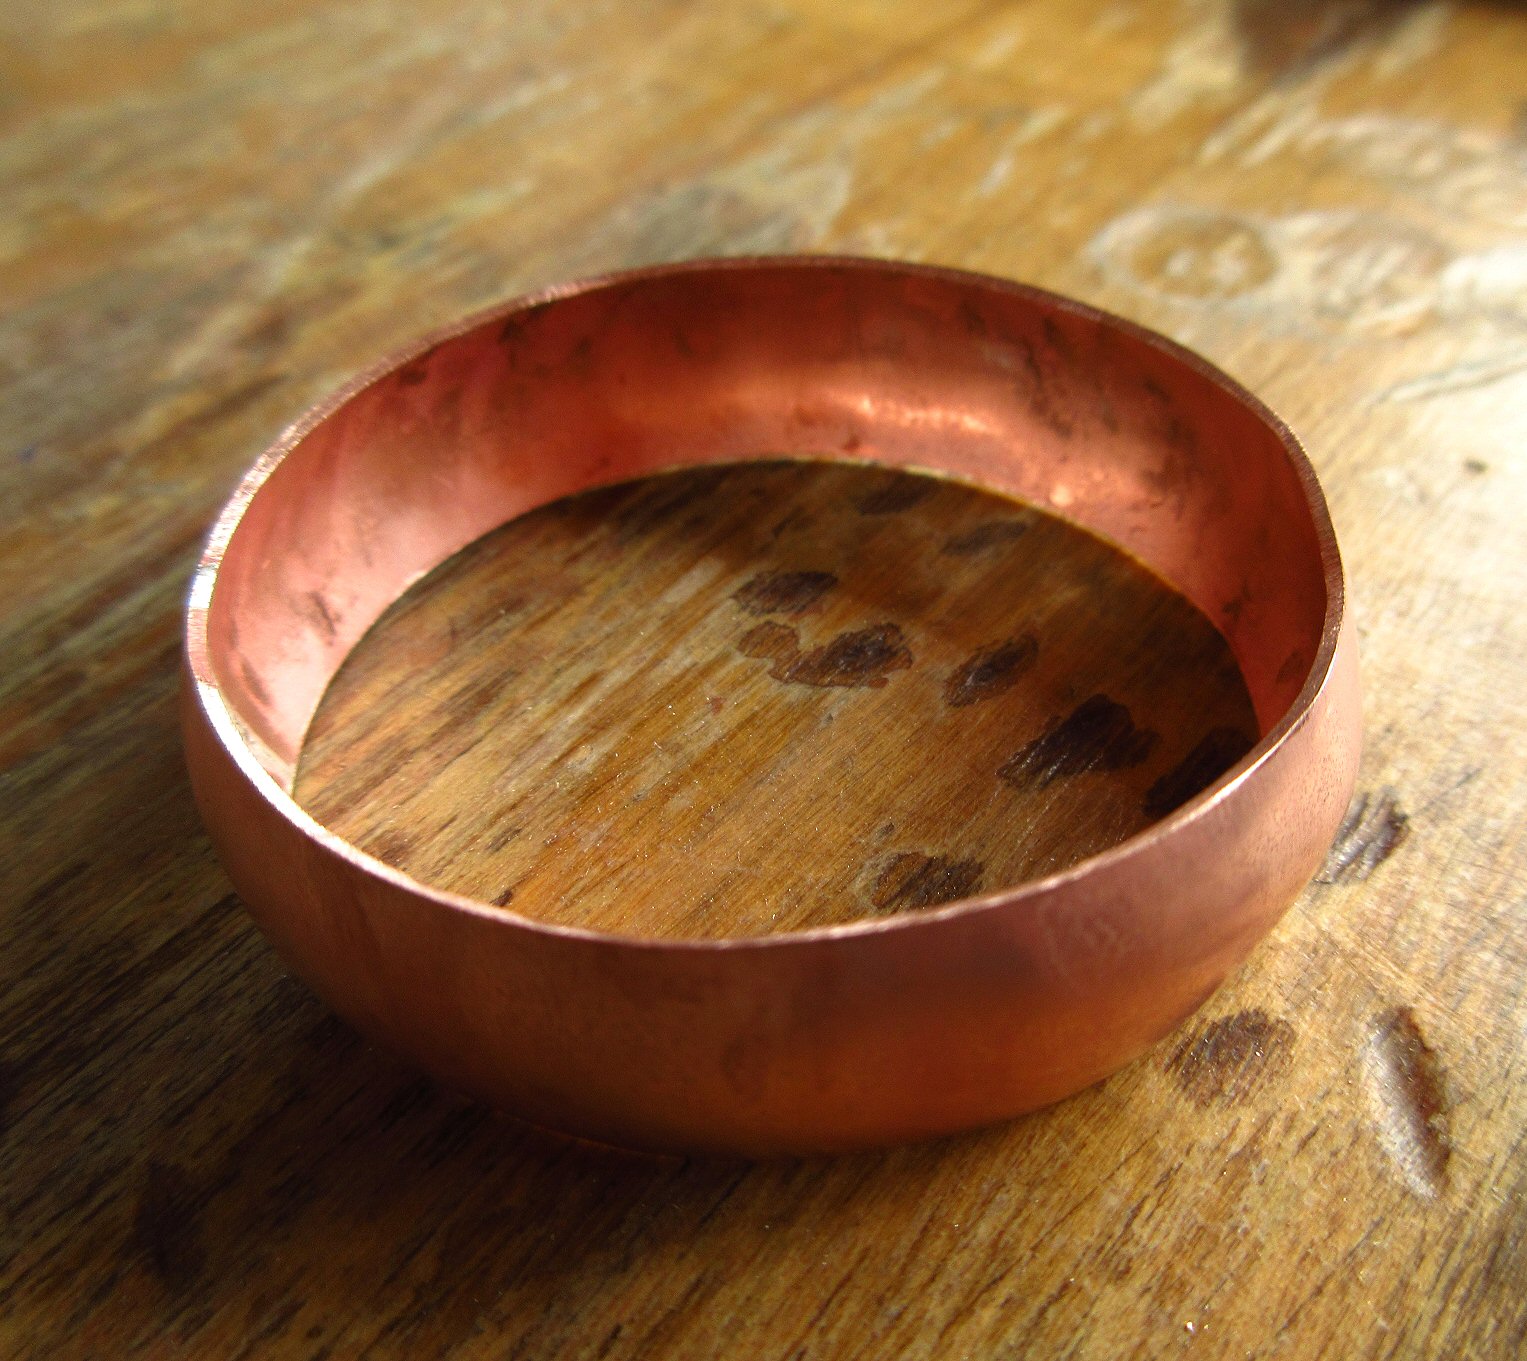
I think the shape is pretty good and makes a decent synclastic bangle.
The pliers didn't leave too much of a mark on the bangle as you don't need to squeeze them very hard {providing you anneal your metal first} so they can be used with textured metal too without losing the design. You do need to take your time and move the metal around on the domed side so the curve is formed more evenly all round the bangle. For someone who doesn't have any other forming tools synclastic pliers are definitely worth investing in.
But I wanted more curve!
So out came the dapping punches and my nylon mallet.

I secured the dapping punch in my vice with a bit of leather to help stop it slipping and used the ball end of the dapping punch and my mallet to add more of a curve to the bangle. This also helped to straighten out the wavy edges.
Dapping punches are a great alternative to using domed stakes if like me you don't have any :D
I have lots of different sized dapping punches so could create a much more pronounced curve if I wanted to especially if I wanted to make something smaller in size like synclastic hoop earrings.


Using the dapping punches did give the bangle slightly more curve and helped to even out any bumps. It was just a quickly made practice mini bangle so obviously not finished but I do really love the shape and will be making some synclastic bangles very soon.
Another reason for making a practice bangle was to find out how forming the synclastic shape affects the inside diameter of a bangle. The mini bangle I made measured 44mm in it's flat state before any forming. After using the synclastic pliers the inside diameter was 43mm and after using the dapping punch to form the bangle the inside diameter had reduced another 2mm to 41mm.
This is something you have to bear in mind when making bangles to sell and cut the metal length to account for the change in shape and inside diameter measurement.
Making a practice bangle in a normal size rather than a mini size probably would have been a bit more helpful to me but at least I know to allow a few extra mm in length for when I make my next proper sized synclastic bangle :D

Copyright © 2016 Cinnamon Jewellery. All rights reserved.
Sounds like a very interesting tool to me as I dont have space/workbench to set up an anvil, vise or a stake. Are there any sizes or particular brands/ requirements, materials that I must keep in mind before I buy one?
ReplyDeleteThey are available in three sizes up to 3/4" from Potter Tools in the US .I could only find the one size over here in the UK. You can use most jewellery metals - copper, brass, silver, bronze, and gold plus aluminium and even stainless steel according to Potter Tools. You do need to anneal the harder metals though.
DeleteCool new tool Tracy! I love seeing how it works. It must be fun to play with! Great tip about the change in bangle diameter too.
ReplyDeleteBeautiful blog!!!
ReplyDeleteI love that shape of bangle! I've had those pliers on my eBay watch list for a while now, it's nice to see someone else have a go first though!
ReplyDeleteMissing you posting as your blog has been inspirational. Looking forward to any future posts you may have time for!
ReplyDeleteThank you Mandy! I have been busy lately and haven't had time to post but I'm back now :D
Delete