Commission #

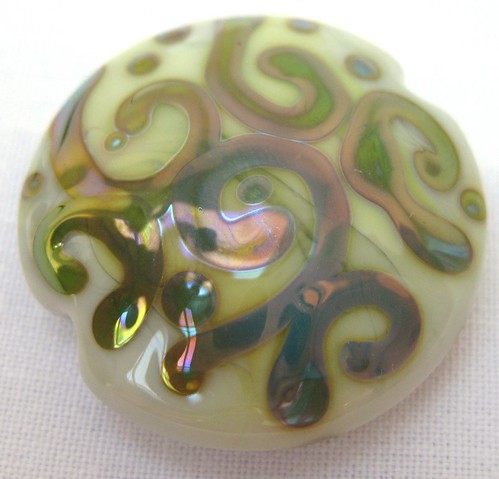
Last week I received a commission from Kaz of Cheeky Cherub Designs for a pair of earrings and a pendant using Kaz's own beautiful Lampwork beads. Karen has bought several pairs of earrings from me recently and wanted a spiral design in Sterling Silver to go with her Lampwork lentils.

They duly arrived in the post plus a pair of gorgeous green lentils just for me!


This photo doesn't really do them justice ~ they are really gorgeous!

Here's the end result


I posted them to Kaz today and she is going to take them to the 2010 Flame Off this Friday and Saturday.

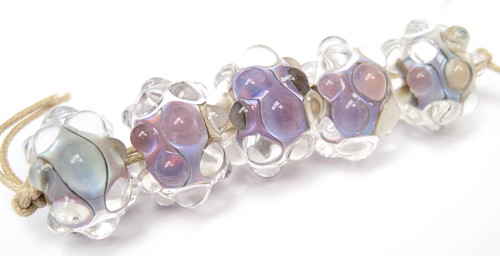
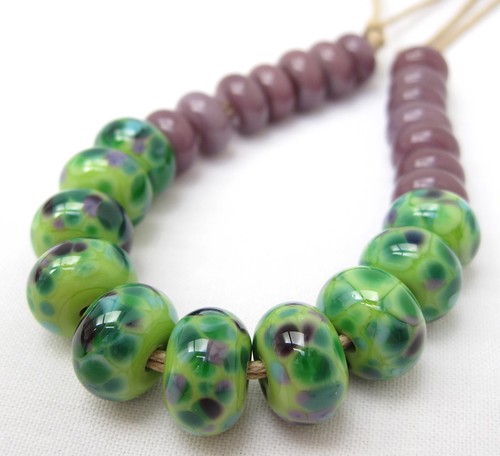
Here's more of Kaz's handmade Lampwork beads. You can also see more of her work on her Flickr page here


Comments

  1. They are beautiful - your work has done them justice. By the way, your blog has taken ages to load, has anyone else commented or do I have a gremlin in my system?

    ReplyDelete
  2. Thanks Tammy. It didn't take too long to load for me but it may be the photos? One of them took a while.

    ReplyDelete
  3. These are beautiful; the silver really impacts with the stones. Excuse my ignorance, but what exactly are lampwork beads?

    ReplyDelete
  4. Janet, Lampwork beads are handmade using rods of glass and a torch and various techniques that I don't know much about myself!
    Tracy x

    ReplyDelete

Post a Comment

Your comments and questions are very welcome!
If you would prefer to contact me directly please use the contact form on my "get in touch" page.
Any comments containing links will be deleted so please don't waste your time.....

Popular posts from this blog

My Jewellery Shed Gets A Lick Of Paint

At the end of last summer, after an incredibly busy few months jewellery-wise, I decided to take a break and repaint my shed. I'd painted it a pale green colour when I first got it and it was starting to look a bit faded and sad. So I did what I expect most people do and started looking online at what wonderful colour I could repaint it. There are lots of great colours out there by Cuprinol and Ronseal and the DIY stores own brands. I took a long time deciding on a colour then got in the car to go and buy the paint. That's when I discovered that B&Q and Homebase only carry a limited selection of shed paint colours {8 if you're lucky} and if you then find something in stock you do like they quite often don't have it in the size pot you need! So the colour I bought was a bit of "Oh buggar it, that'll have to do". Luckily it turned out to be similar to what I'd originally wanted by the time I'd finished the third coat - yes it took three coat...

Etching Copper With Ferric Chloride

 I decided recently that etching is one of my favourite things to do with metal. I read about it online quite a while ago and immediately thought it looked cool but the thought of using an "acid" and having to find somewhere to store it (a perennial problem when you don't have a workroom) put me off. So instead I admired etched copper from afar. Until I got a bee in my bonnet about it again and bought Lexi Erikson's copper etching dvd. Lexi Erikson is very good at explaining jewellery techniques and making them seem much more straightforward than they first appear. I already knew that ferric chloride was a salt and not an acid so wouldn't eat my flesh through to the bone if I accidently spilled some on my hand. The dvd made me feel much more comfortable about having a go so I ordered some ferric chloride from ebay and bought some stamps and StazOn ink from a local craft shop. My first attempt went ok but for some reason I left the copper to etch for an hou...

Amazing Enamel Effects

Buying a kiln recently has given me the chance to experiment with enamelling on larger pieces of copper and to produce some really cool effects. These effects happen when you combine different types of enamel. I usually use smaller flat pieces of copper for making enamelled earrings and have had some of these effects happen when firing with a torch but they are much more obvious when you use larger pieces. I made a few practice pieces which you can see in the photos below. This was flux {a transparent enamel not to be confused with soldering flux!} applied straight onto copper and fired until the copper was a bright golden colour. Then I added a layer of liquid enamel in green and red over the flux and fired again.  The lines and spots form when the enamel becomes hot enough to start moving and in this case the transparent pushes through the liquid enamel layer forming these cool lines and spots. The effect is better in the green liquid enamel than the red.  N...