Up to now I've always regarded the wire grooves on my rolling mill as slightly annoying as they take up space on the rollers that I wish was smooth. Then I'd be able to texture wider sheets of metal instead of the measly 4cm I can do now. I've never had any inclination to make my own wire so the grooves are those things that are just "there".
That's up til now! I've known for a while you can make square shaped wire using the grooves so thought I'd have a go. I have searched for square copper and bronze wire in the past and only managed to find the thinner gauges in the UK. Being able to make my own in thicker gauges is a real bonus.
I just need to apologise now for the blurry photos. For some reason I decided not to brace my arm/hand on anything when I took most of the photos.....
If you move the two rollers close together on the mill you can see the diamond shape gap the grooves leave.
I annealed some bronze wire and fed it through the first groove it would fit into. I left the rollers too close together to begin with. It's better to start with a gap between the rollers so you can decrease the size of the gap each time you pass the wire through.
This is 2.5mm bronze wire after 3 passes through the wire grooves. A nice rounded square profile. I found that the size of the wire decreases by about 0.5mm so 3mm diameter round wire ends up measuring 2.5mm top to bottom once it's a square shape.
As the shape changes and the wire gets smaller you move along the grooves.
The shape is more a rounded square but you can make the corners slightly sharper by making the gap tighter.
I ran the wire on the right through the next smallest gap and it's made the corners a little bit sharper than the wire on the left {I think so anyway!}. I like the rounded square shape though so I'm not too worried about getting the sharp corner edges you find on square wire you can buy.
These photos were taken of 5mm round copper wire as I ran it through the wire grooves.
This is the round wire after the first pass through. You can see the shape starting to form.
This is after four passes through the grooves. I kept this wire in the largest groove and decreased the gap each time.
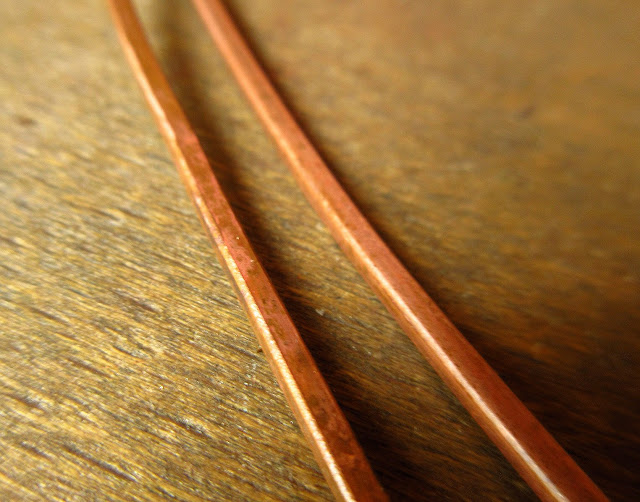
The side view shows the rounded square shape.
After I'd cut the end off the wire to show the lovely shape :D You can also make triangle shape wire by feeding two pieces of wire into the groove together. That's something to try another day.
I've made a couple of new bangle designs using the square shape wire.
My line stamp was busy that day :D
I'm planning to use the bronze wire in the photos above to make some hoop earrings which I will no doubt post about very soon!


How cool that you could do this with the wire Tracy! I like the slightly rounded edges as much as the squared for a different look. The finished bangles came out gorgeous!
ReplyDeleteFascinating to see this part of a rolling mill used as, like you, I've always tended to stick to the flat plates. I love the soft edges instead of the sharp ones too.
ReplyDeleteSame here. Square wire is out of sight! And it's also good for making halfround wire for rings. I always think of rings as round and round, everywhere. Now all the round, groove wire is to be used! Nice design of bracelets, Tracy. Simple but not too simple!
ReplyDeleteYes I agree the square wire does give bangles and rings a cool look :D
DeleteWhere do you find the 5 mm wire? I've been looking, almost, everywhere...
DeleteI get my thicker bronze gauge wires from metalclays4you.co.uk
DeleteThank you for the tip! I've never been there 😊
Delete5 mm was out of stock but I've found this: WIRES.CO.UK. I didn't dare eBay if something was misunderstood. But shipping from China is about a tenth of shipping from UK....
DeleteYes the postage cost can be the problem if you buy from overseas. I get stuff from wires.co.uk but they don't have the thicker bronze gauges, they only have up to 3mm.
Delete