
My recent sterling silver bangle-fest where I made quite a lot of silver bangles for hallmarking in various designs made me want to make something similar in copper. I really enjoyed making the stamped silver bangles on the right in this photo...

I hadn't done any stamping for a while and it reminded me how much I like doing it. When I say stamping I mean creating patterns from mostly circle and line stamps rather than the inspiring words/phrases/childrens names that are so popular. I can't stamp letters in a straight line and making that style of jewellery has never appealed to me at all. So I stick to making patterns.
I also made three copper bangles with a leaf vein texture using leaf skeletons. I used some 4mm {6g} round copper wire which I annealed then ran through the rolling mill a few times to flatten it.
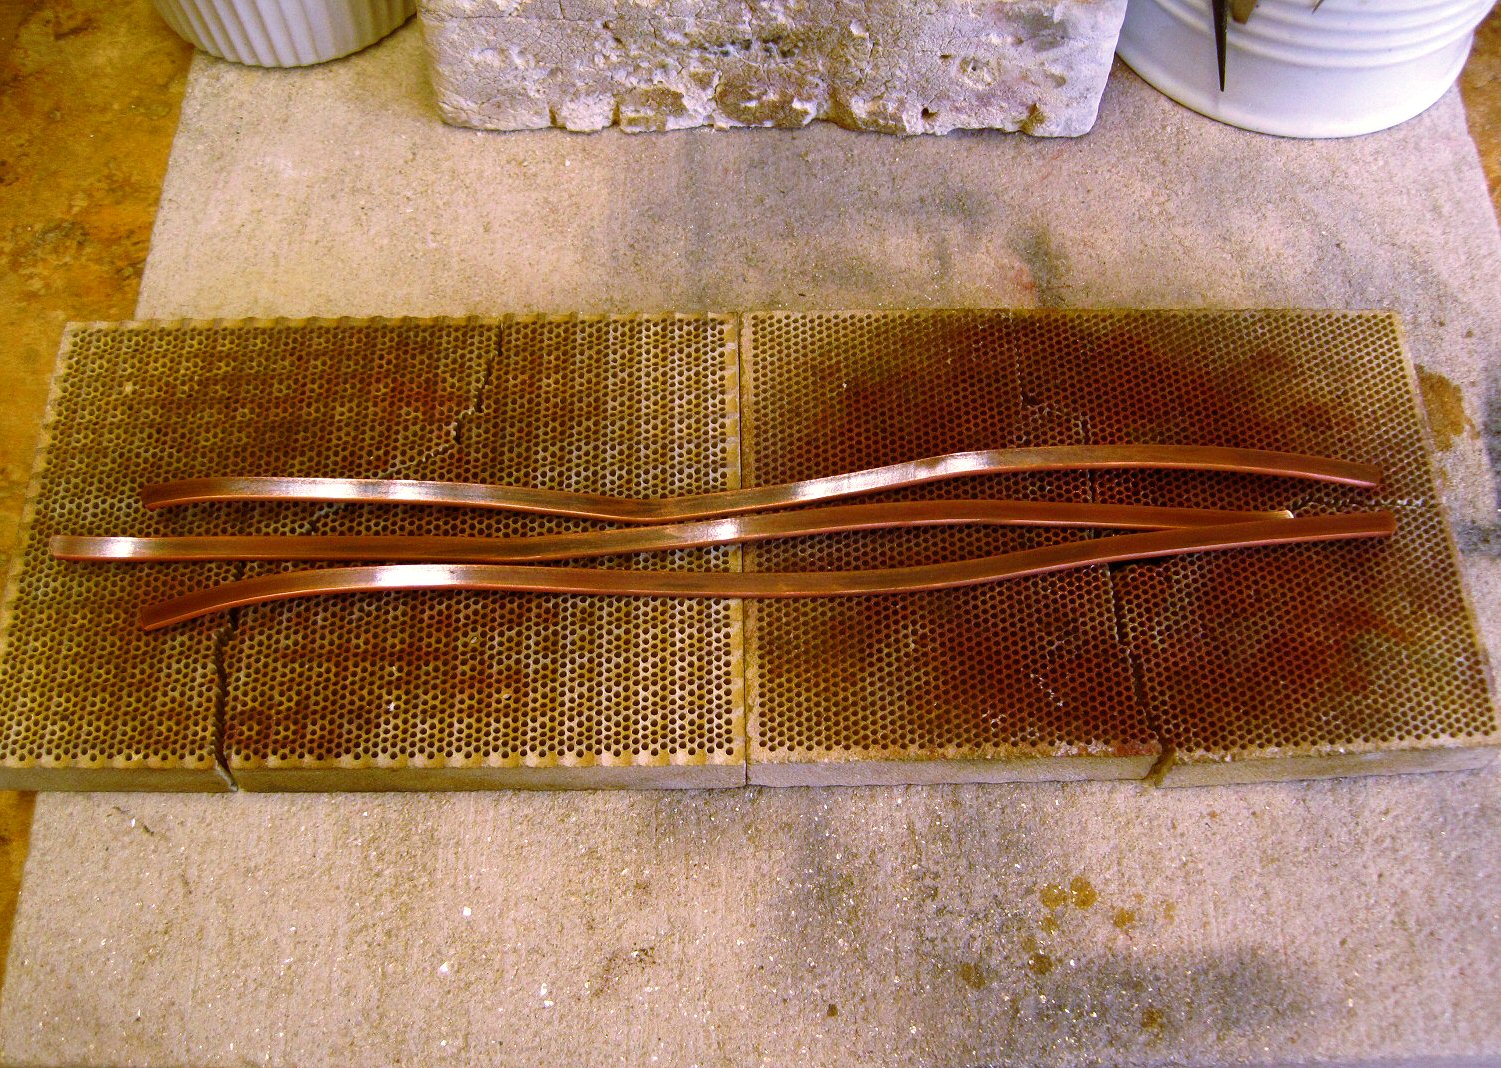
After annealing the flattened wire again I ran it through the rolling mill with the leaf skeletons, holding them in place with my fingers as they go through. I left a gap between each leaf skeleton for a bit of contrast on the bangle and I reused the leaf skeletons as you only flatten a part of them as they go through the rollers.

The wire was now pretty wavy in both directions so I annealed it again and used my mallet and steel block to flatten and straighten it. You need to do this in order to get a straight cut on the ends.


I then cut the wire to the right length for medium size bangles and used my mitre block and file to make sure the edges were straight for the join.


Using a mitre block gives you lovely straight edges on your join making soldering very easy.


After soldering the bangles I rounded them on the mandrel, sanded the join and checked they were the right size.
I decided to add a few silver balls to one of the bangles. The gaps I'd left on the copper between the leaf vein texture were ideal places for the balls.

I prefer to apply flux and heat it to dry it first before I add anything else. Once the flux is dry I placed the solder and balls in position and soldered them on. That way I didn't have to fiddle with repositioning things that had moved due to the flux bubbling.
After pickling I sanded the inside of the bangles then cleaned up the outside with steel wool.

Then they went in the LOS {of course!}I haven't had chance to photograph them properly yet but I took a couple of quick photos in my shed after they came out of the tumbler.


I textured the stamped bangles in the rolling mill with sandpaper before stamping the copper. The stamped designs took a while to do but I enjoyed making up the patterns.
Did I tell you I had a thing for circles?......
•••••••••

Copyright © 2015 Cinnamon Jewellery. All rights reserved.
Fantastico!!!!!
ReplyDeletePosso chiederti se lo scheletro di foglia è di metallo o è una foglia vera? Purtroppo io non ho il laminatoio, ma mi interessa lo stesso.
Grazie e complimenti!!!
Grazie Monica!
DeleteSono foglie vere si possono acquistare da negozi di artigianato.
{ tradotta con Google ! }
The Leaf vein bangles are gorgeous but I like the shiny copper version better than the LOS as the bright copper feels more delicate and apt for the vein texture
ReplyDeleteThanks Divya, I know what you mean about the bright copper, the texture does look nice.
DeleteYou do such beautiful work
ReplyDeleteThanks Deborah!
DeleteI love these process photos! The leaf skeleton imprints are so cool. The circle patterns are fantastic too.
ReplyDeleteThanks Val. I enjoy taking the photos but I do sometimes get so engrossed in what I'm doing I forget about the photo!
DeleteOooo...leaf skeletons and miter box. I love it! Awesome job Cinnamon!
ReplyDeleteThanks Kalaya!
Delete