
I've been playing again! I posted recently about trying some of the enamel decals I ordered a while ago and being a bit unimpressed with the results. Well I tried again and ordered some more decals, this time just in simple black designs rather than designs in colours. Previously the coloured decals I tried were a bit of a disappointment due to the colours losing their brightness during printing and fading after firing.
I uploaded my designs in PDF format to Fotoceramic and they then worked out the cost and sent me a PayPal invoice. I received the decals two days after payment which is pretty good service. Here's one sheet of the decals I ordered...

I ordered 6 of each design so I now have nearly 450 decals {Carried away? Me? Never!} The total cost was £35.05 so they work out at about 8p each. You can create your own designs, use text {which is a great idea} or purchase digital graphics that allow commercial use.
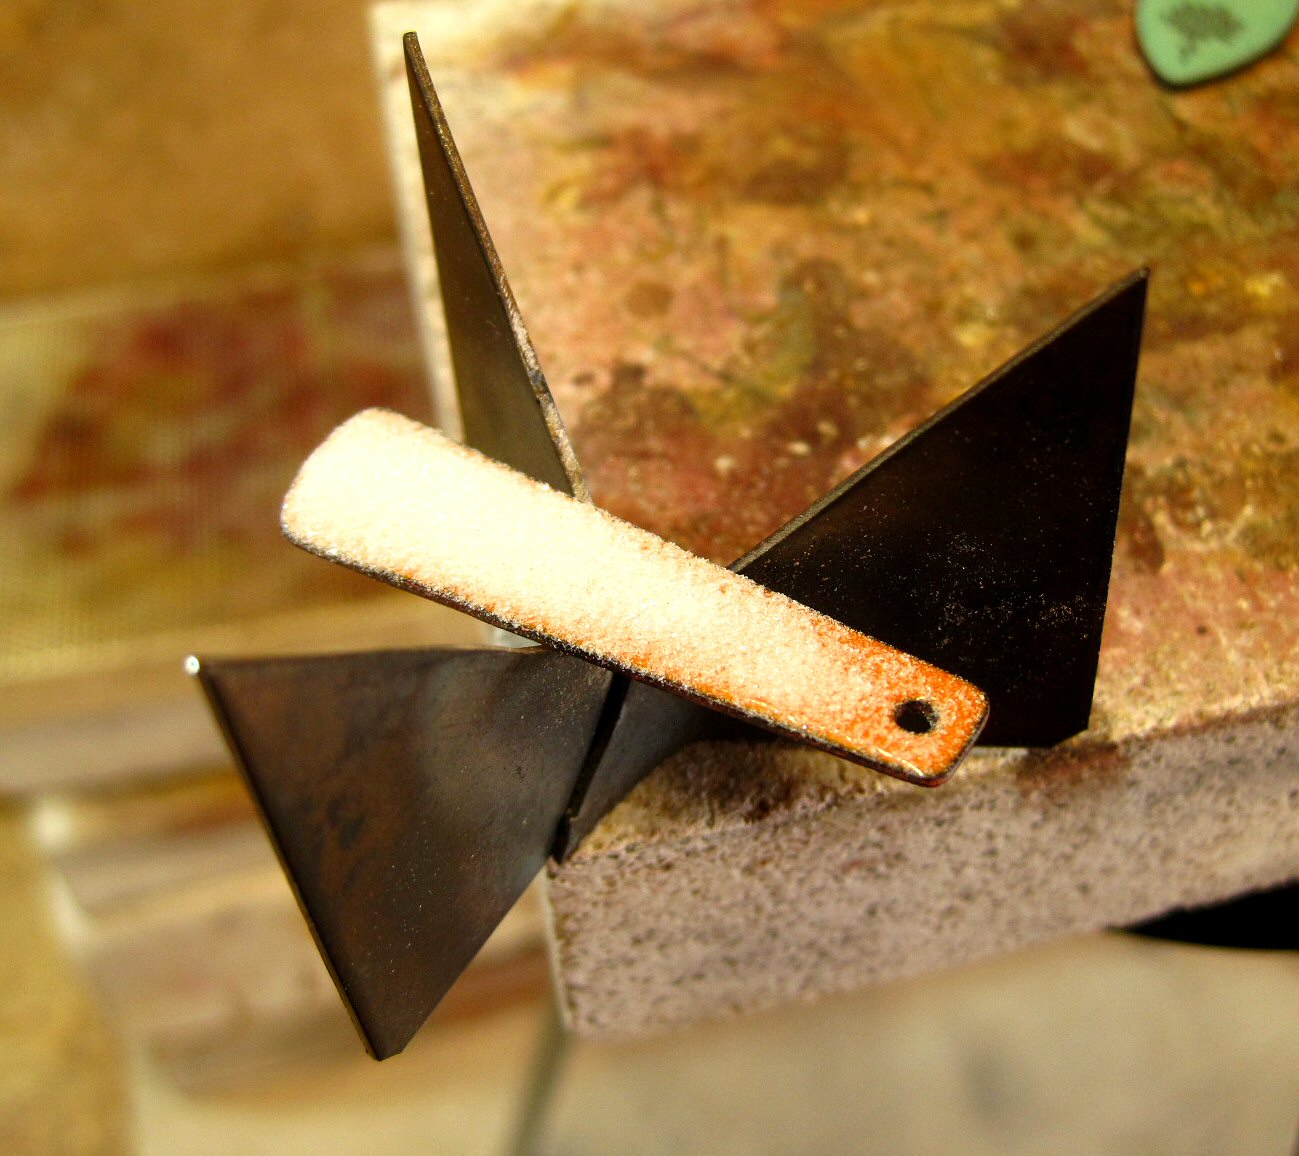
So after counter enamelling and firing two layers on the front of my earrings it was time to choose the designs. I then trimmed the decals as close to the design as possible.

I soaked them in a bowl of water until the backing paper came away and using tweezers placed them on my earrings.


The decal slides around quite a lot until you blot it with kitchen roll so you can reposition it quite easily. You then blot it carefully pressing from the centre outwards to remove as much water as possible and leave it to dry.
There are various ways to dry the decals - if you are using a kiln to fire the enamel you can place the pieces on top of the kiln to take advantage of the heat, leave them somewhere warm such as a sunny windowsill or you can do what I do and warm up a soldering block using my torch then set the enamel pieces on top. I leave them for about 15 minutes and reheat the soldering block a couple of times.

There's no sure way to know if the decals are dry as they don't change colour but 15 minutes in a warm place works ok for me. There's no point rushing this part {even though we all want to!} as the decals will bubble and be ruined if you fire them before all the water has evaporated.
Once the decals are dry I put the enamel piece onto the trivet and heat slowly keeping the torch a fair distance away until I'm sure the decal really is dry and isn't going to bubble. Then I move the torch closer and fire as normal. The decal smokes a bit then turns white as the enamel heats up.

The white colour then becomes transparent as the top varnish layer of the decal burns away leaving the enamel design.

After reading up on it I understood that I needed to fire the piece until the decal became completely smooth but as you can see in this photo the result was a design that was starting to break up and this decal still wasn't completely smooth. The decals can also sink into the enamel if they are fired for too long.
To stop this happening I decided to fire for slightly less time and to add a top coat of transparent enamel to cover the decal and give the earrings a nice smooth finish.
This is the orange pair with a layer of transparent geranium pink on top of the decal about to be fired.

So, the orange pair in the photo above were fired and the transparent just didn't look very pink. It had altered the orange base colour slightly but I wanted pink! So I added another layer of transparent in red this time and fired it again. Bear in mind this was the 5th firing....


Mistake #1
The shape of these earrings is much too long and thin meaning the trivets I use didn't support them properly. They were hard to balance on the trivets too and did tip up a couple of times depositing the enamel powder everywhere {cue swearing}. The difference in thickness of the top layers of enamel and the much thinner counter enamel layer resulted in a warped piece of copper.
Mistake#2
Too may layers of enamel. You can see in the photo the difference in thickness at the top and bottom of the earring.
Mistake #3
Dropping one of the orange earrings on the floor just after firing. And like a piece of buttered toast it landed front side down. On carpet. Yes my shed has carpet. Surprisingly the bits of melted carpet did come off very easily. But it didn't help.
So a few days later the earrings decided they'd had enough of all this stress and this is the result......

Notice this didn't happen until a few days later. The other earring is also cracked but obviously isn't such a drama queen as it's mate and decided to keep hold of it's red/pink/too thick/carpet textured shiny enamel coat.
Here's the rest of the decal experiments I'm glad to say worked :D
The finished versions can be seen in the top photo collage.

The green pair with the flower decal are my favourites. I mixed up a new green mix using three different green opaques and now want to enamel everything with it!
Only 400 and odd decals to use up now so no doubt there will be more...... but not all in green.

Nice post and pictures. More pictures of all your green enamels! Green is my favorite color this year. Can't wait to see.
ReplyDeleteThanks Saltisto! Purple is usually my favourite colour but that green mix is rather nice :D
DeleteWhaaat??? How did I reply as Saltisto? That's my hubby. Hmmm...was he must have been logged in to my phone somehow. I will have to get to the bottom of this mystery. The game is afoot!
DeleteLove, love , love x
ReplyDeleteThanks Samantha.
DeleteWhy is it always butter side down?!
ReplyDeleteLove the blue enamel.
Heather :)
Why indeed. At least the carpet bits came off the enamel :D
DeleteThis sounds like quite a learning experiment. I love the look of the successful pieces. They are beautiful!
ReplyDeleteThanks Val. I definitely learned not to drop hot things on the carpet again :D
DeleteLove 'em! Thanks as always for sharing!
ReplyDeleteThank you Deborah :D
DeleteThese are so lovely! Thanks so much for sharing the good and the struggles! :-) You inspire me to keep trying, although I'm far behind you, trying to figure out how you keep the counter-enamel side from morphing into bizarre shapes and discoloring when you fire the front side (I use propane and butane hardware style torches).
ReplyDeleteYour jewelry is truly gorgeous! Thanks for taking the time to share!
Thanks for your comment Carol. I know I love reading other people's blog posts when they've shown how to do stuff and what can go wrong so I thought it was a good idea to do the same.
DeleteI always use a dark enamel for the counter enamel as it will discolour as you fire the front. Not sure why it's morphing into weird shapes though unless there's a crack in it somewhere and some water got into it which can cause it to form big bumps as you fire the front.
Hi, so nice to see how you do it! Where can you find those decals? Im from belgium, not easy to find...
ReplyDeletegrts!
Hi,thanks for your comment, I got the decals from http://www.fotoceramic.com/
DeleteHi! I love them!! Where did you get the decals from? Ive tried the link but it doesnt take you directly to them
ReplyDeleteHi Laura,
DeleteI've just checked the link and it works ok for me. The links on the left of the FotoCeramic page explain what to do.
I'll try it again on my computer as I'm on my phone! Thank you!
ReplyDeleteHi again, at what temperature do you fire the pieces when you fuse the decals? is it around 800degree c like for the enamel? thanks
ReplyDeleteHi again Laura, I use a torch so can't tell you the temp but I fire it until the decal has become almost smooth. If you fire too much the decal can sink into the enamel or it can start to disappear depending how think the lines of the design are. I usually put a transparent layer on top to give it a smooth finish.
DeleteHope that helps!
Hi again, loving your designs, do you make your own patterns or can they be found on the internet please? If so what do I search for for is it folk art? Cheers!
ReplyDeleteHi Deborah! I downloaded some free to use graphics and used the selection tool in Paint
DeleteShop Pro to cut small parts of the designs or you can buy some digital art on Etsy and use that - as long as the seller allows thier artwork to be used commercially. I usually look for modern floral or zen doodles...
Awesome thanks as usual for your generosity in sharing resources!
DeleteHello!
ReplyDeleteAfter years of flame enameling and inspiration from you post - I have decided to finally use the decals i have maturing on my shelf...
I noticed today that while i was rubbing gently, the decal was slowly fading. I tried a little more until the decal has completely disappeared from the surface. Any suggestions ???
Thanks for your comment!
DeleteIt sounds as though you haven't fired the piece long enough for the decal to bond with the enamel. When I fire a decal it first turns white and smokes a bit as the varnish layer burns off then it starts to clear and you can see the decal becoming glossy. If you fire too long the decal can start to sink into the enamel and can also start to disappear if the design is made up of thin lines.
I normally fire til it's almost smooth then add another transparent layer on top to cover the decal.
Hope that helps!
Tracy
Hi,
ReplyDeleteThanks for the tutorial, I've been looking all over for a how to on using decals. Quick question, when you fire the decal do you fire from underneath like you do the enamel itself?
Thanks
Jenn
Hi Jenn,
DeleteYes you do fire it the same way from underneath.